.gif)


-
 Getting started
- File management
- Viewing Data
- Labelling Data
Video synchronisation
Pre-requisites
To synchronise video with data, it is necessary that the synchronisation radios were successfully used during the session.
Synchronisation
The procedure to complete the synchronisation on the PC is as follows:
- Download the video from the camera to the PC as an AVI file. Most PCs come with Windows Movie Make as standard. When the camera is connected to the PC in play mode, the Windows Movie Maker wizard will enable you to select AVI as the file format.
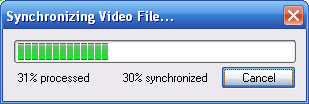
- Once the AVI file is stored on the PC, drag the file (from Windows Explorer) onto the PowerLine window. The software will synchronise the data to the video where possible, indicating its success rate as it proceeds. The synchronisation information is stored in the session's index file.
Be aware that AVI files typically use 3 to 4 MBytes of hard disk for each second of video. Although there is no limit on the size of AVI file that the PowerLine software can work with, it is obviously beneficial to be selective about the clips which are downloaded.
Each session can be associated with more than one AVI file, so it is not necessary to download the video in one file.
Video window
Once synchronisation is complete, the video can be brought up in the video window using video toolbar button, selecting View->Video Window, or by using the keyboard hotkey CTRL-V. The video window can be displayed as a large or small window, according to the checkbox top left. The camera's timestamp of the video (usually its location on the tape) is printed in the titlebar of the window.
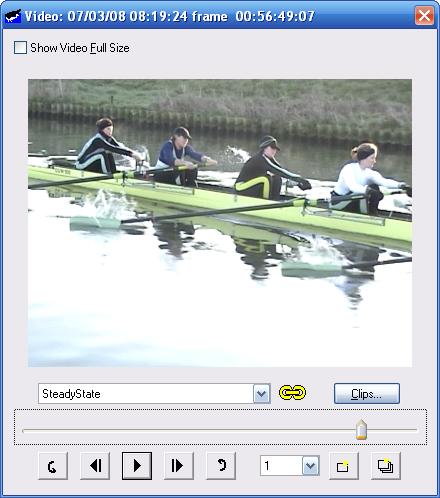
Select a clip from the drop down box, and the Play/Back/Forward controls on the Video Window will progress you through the frames, or you can drag the video marker along.
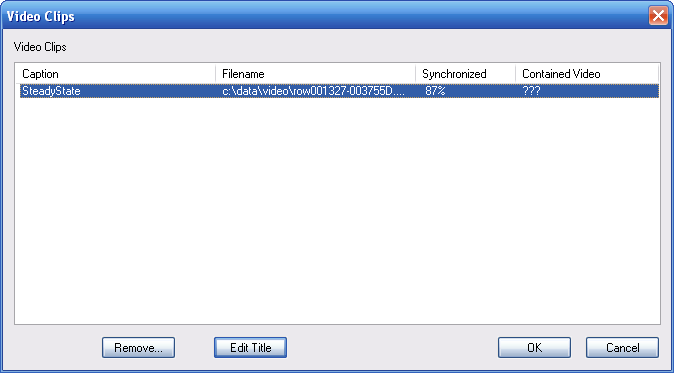
By default, the names of the clips in the drop-down box are the file names. There is an option to replace these with a caption by clicking on the Clips button:
Playback controls
A drop down box enables the speed of playback to be changed. When playback hits the end of the clip, it goes back to the beginning. Start and end tabs can be created so that the playback shuttles between these two points.
Capturing stills
Video stills can be extracted for use in printing.
Press the grab stills button to bring up a dialog box where you can enter the following:
- number of frames to grab
- number of frames between each grabbed frame
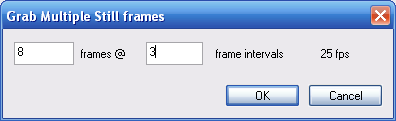
So for example, 8 frames grabbed spaced at 3 frame intervals would span 21 frames in total, which at 25 frames per second would span just under a second.
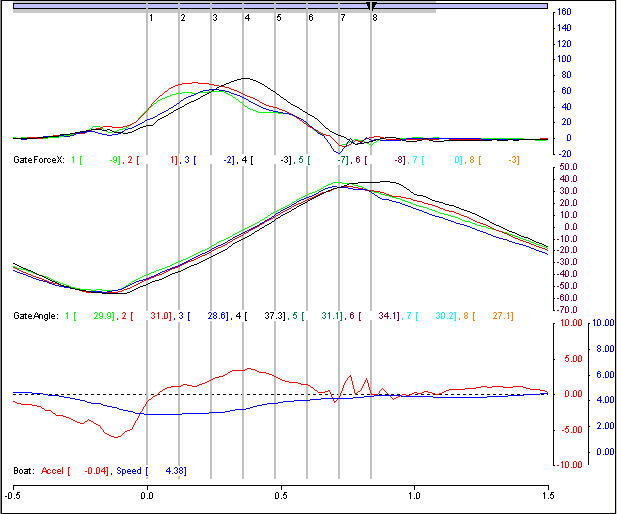
The location of stills are indicated on Trace Views by vertical grey lines. When you print a Trace View, the view is printed as the first page with numbers against each vertical line. The stills are printed on subsequent pages labelled with the corresponding numbers.
Stills are stored as JPGs within the session's index file. As more stills are taken, the index file will increase in size.
To delete unwanted stills, press the still edit button. A list of stills is shown, indexed by the time since the start of the session measured in milliseconds.

Navigation from a Trace View
When video has been synchronised to a session, the regions where this has been successful will be marked at the top of Trace and Profile Views by a narrow grey band inside a box. Whenever the cursor is moved to such a region, the Video Window will show the relevant frame. Move the cursor through the data, and the frames will change.
If the cursor is positioned outside of the video region, then the Video Window is blank.
Video file location
The software provides several options for video file storage. These are contained in the Video tab of the Tools->Options dialog:

- The file name of the video files can be automatically renamed to the same name as the session file (e.g. row00123-005678D). Where more than one clip video file is synchronised to the session, a suffix 1, 2, 3... is added to the file names.
- The video files can be automatically moved to a specified file location when it is synchronised. To do this, check the box and enter a folder name in the Move to field. The syntax for this is as follows:
- inserting a single dot (".") will move the video file to the same folder as the data file
- an absolute folder location is determined by commencing with a backslash optionally preceded by a drive letter - e.g. c:\RowingVideos
- a relative folder location is determined by commencing with a name - e.g. videos. In this case, the folder is created within the folder where the data file is stored. For example, if the data is stored in c:\RowingData\, then moving the clips to "videos" will create the folder c:\RowingData\videos and store the video file there.